This past week I had a revelation. I don't know how it happened, but it did. I realized that I have had my camera for 6 months now, and not once have I tried to shoot in Manual mode. Crazy, right? Well, I decided to click the wheel to "M" and keep it there for this week. I am bound and determined to learn to shoot Manual. Manual mode allows you to adjust the settings for the Exposure triangle (ISO, Aperture, and Shutter speed).
Sure, Auto mode is awesome, and you get great photos from it. However, you are NOT taking full advantage of what your camera can do! Being in Auto mode means you are crossing your fingers hoping it will turn out. In order to take good pictures, especially in low light, you HAVE to at least give Manual mode a try! I recommend starting out in Shutter priority mode. This will allow you to control the shutter speed, aka how clearly you want a moving object to show up. The camera will still auto-adjust the Aperture for you.
After you are comfortable with Shutter priority, make the switch to Aperture priority. This is also known as Depth of Field, aka how much of the image you want in focus.
To help make more sense of this, here is a cheat sheet I found on Pinterest:

This is pure genius because it gives you the Manual settings for each scenario. Play around with just Aperture or just Shutter priority modes first. While in each mode, play around with the ISO settings. Just be warned that higher ISO means more grain and fuzziness in your images.
Your camera also has a meter on the screen that can range from -2 to +2, and it adjusts as you change your settings. The ideal goal is to get the meter at exactly 0. This meter is located just under your shutter speed and aperture numbers on the live view screen:

Live view on Canon

Live view on Nikon
This can be the most frustrating part about shooting in Manual mode. It will constantly teeter from one side to the other, so just play around and see what happens when the meter is not at 0. I usually meter off of the sun (meaning I point the camera at the sun and adjust my settings until the meter is exactly at zero). This way, I can't have a photo that is underexposed.
It definitely was a challenge switching to Manual, but now I am having a blast taking pictures of everything!
Here is a photo from my husband's college graduation:

ISO 400
Aperture f/3.5
Shutter speed was between 1/125 and 1/200
Let me preface by saying that he was sick and had burning, watery eyes. I decided to shoot him in the shade for that very reason. DO NOT BE AFRAID OF SHADE! It can actually be a lifesaver for photos. I mean, do you actually want a picture of your subject squinting and crying? Yea, didn't think so.
And here are a couple photos of some tulips that have bloomed this week:


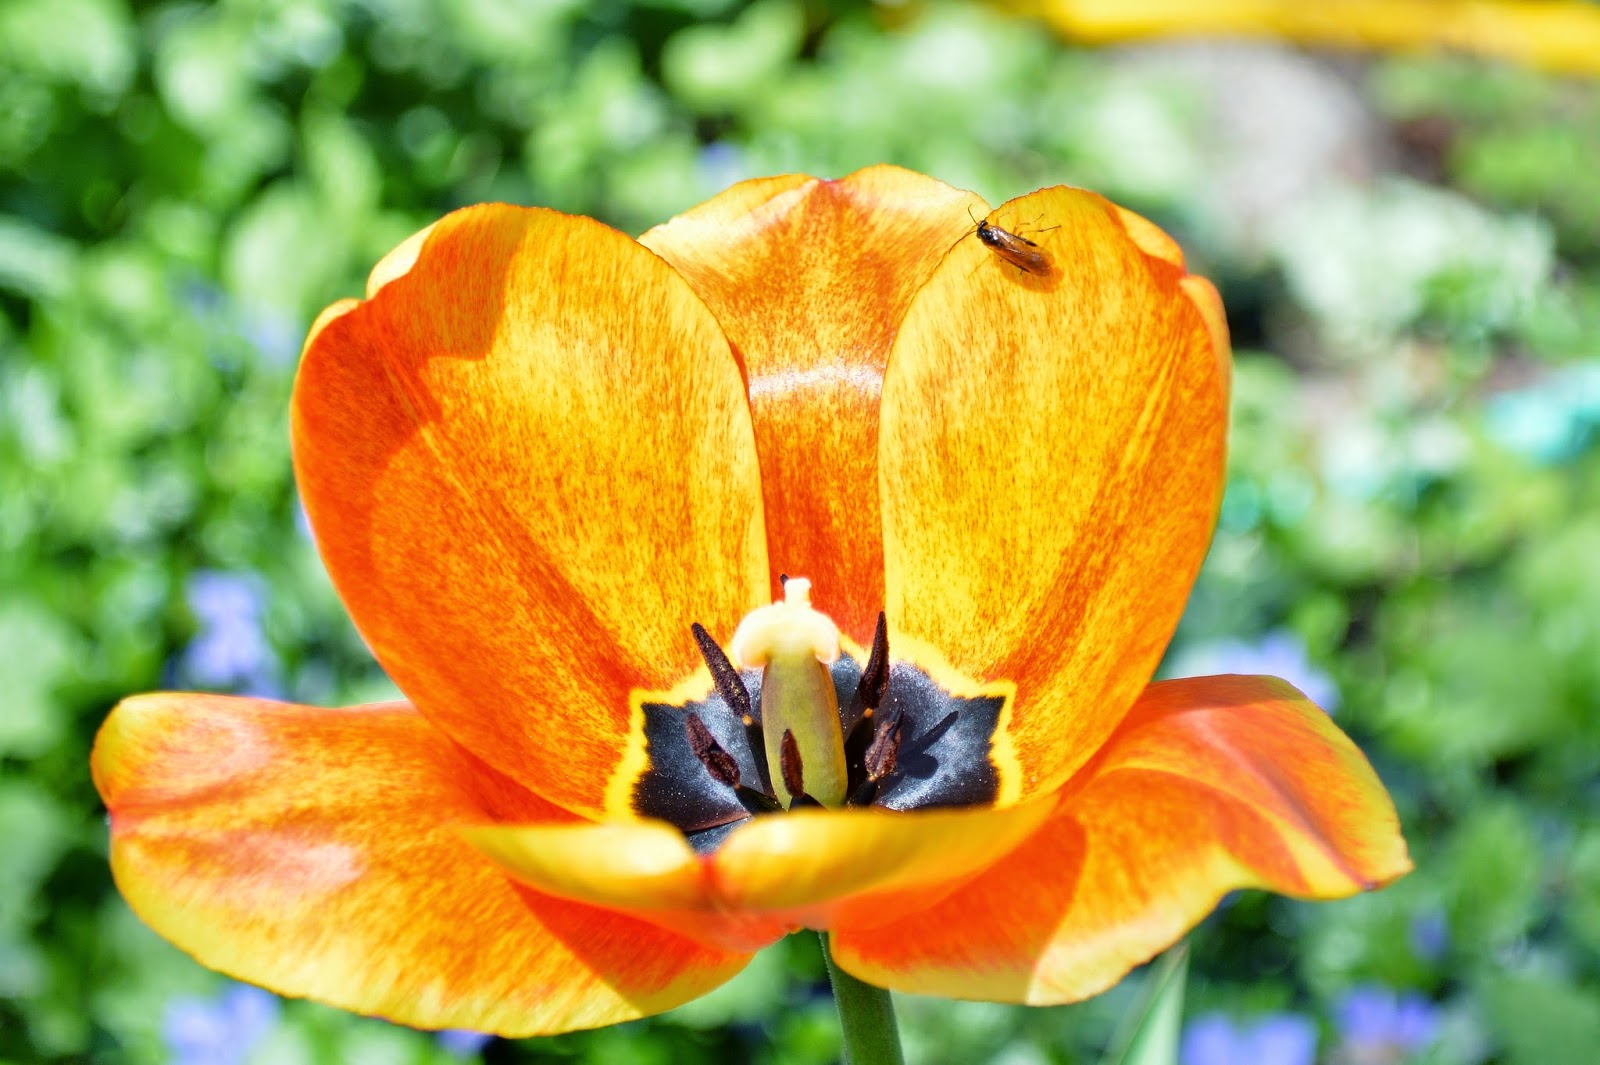


ISO 200
Aperture was between f/3.5 and f/5
Shutter speed was between 1/125 and 1/200
I cannot get enough photos of flowers. Especially when they open up so wide like that.
My advice to you? Look at your camera's click wheel, and set it to Manual. It will get frustrating! I had to practice by taking numerous photos of a shoe. It will get better. I learned it in a week and I will NEVER go back to Auto!
Have a suggestion for a blog post? Sound off in the comments!
Follow me on Instagram @angelamcollins
Go check out my beauty blog, Angela Collins Beauty
xoxo, Ang
No comments:
Post a Comment